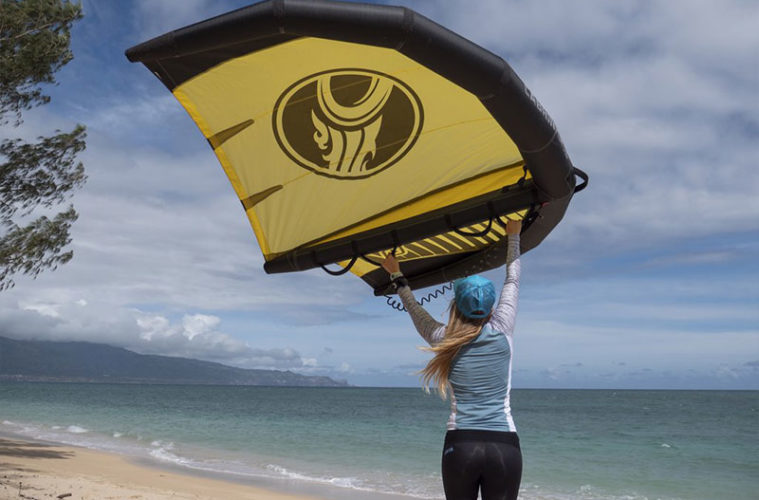
The Crosswing from Cabrinha is the simplest form of wind driven power you can hold in your own two hands. It’s a compact, fully controllable inflatable wing with an incredibly wide range of use on water or land. Everything you need to fly the wing is contained in its fully integrated form. The Crosswing is optimized for use on water but can also be used on land or snow.
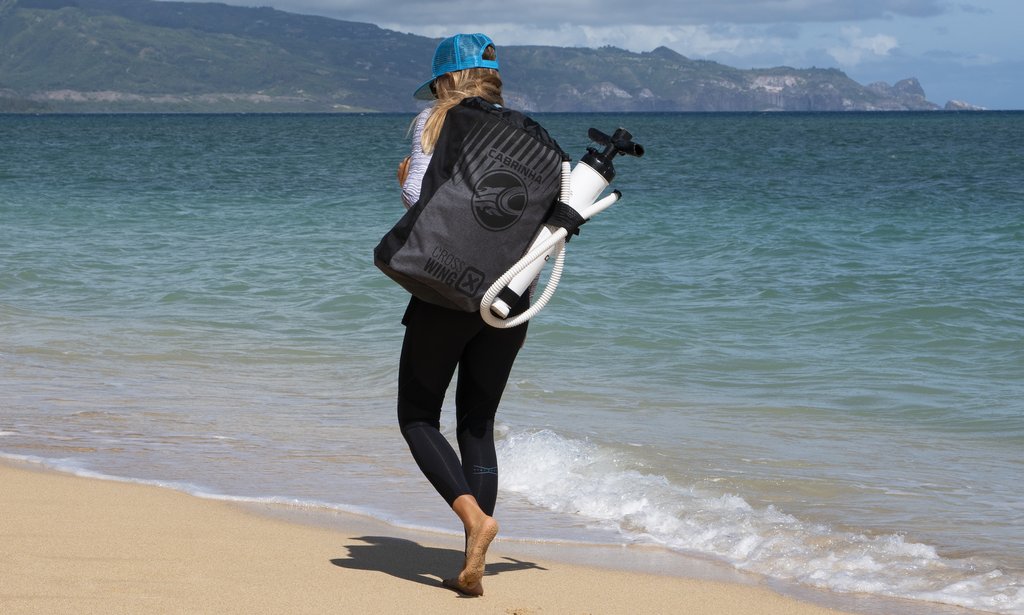
Inflation
The Crosswing uses Cabrinha’s high volume Sprint inflation system. You can quickly and easily pump up the wing is less than 20 seconds. Find an area roughly the size of the wing and lay the Crosswing flat on the ground with the struts facing up. It’s best to open the wing up so that the air is able to flow freely through its fully inflatable frame.
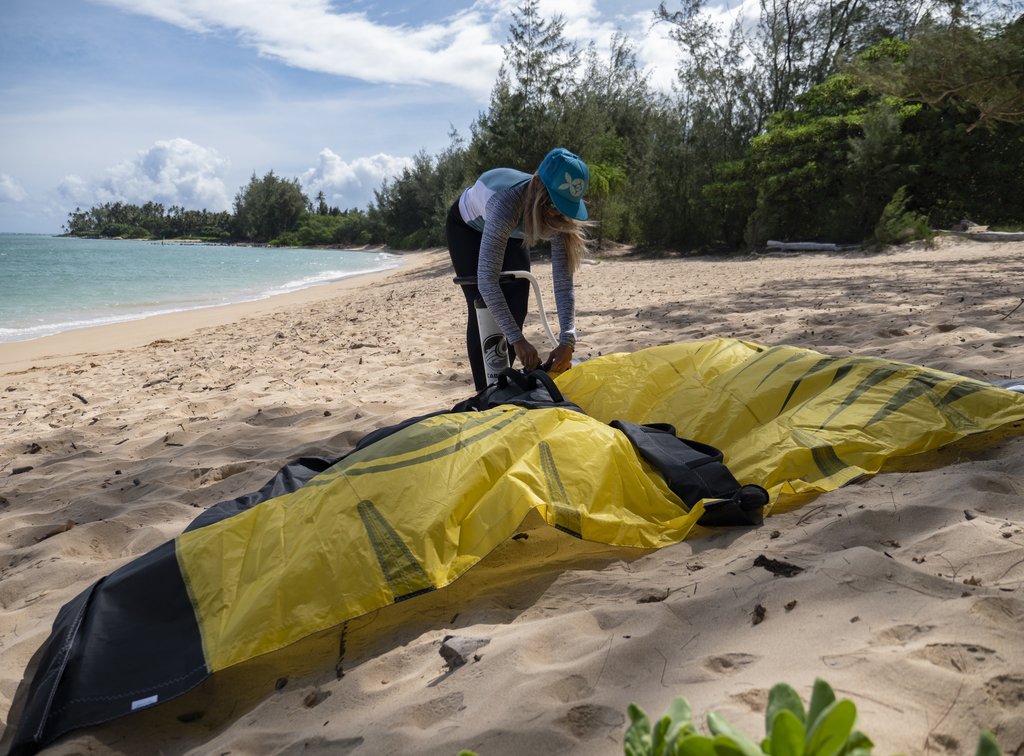
Connect the inflation hose of a Cabrinha air-pump the Crosswing’s Airlock™ valve by giving it a turn in a clockwise direction. Inflate the wing at a normal pace and it will be fully inflated in less than 30 seconds.
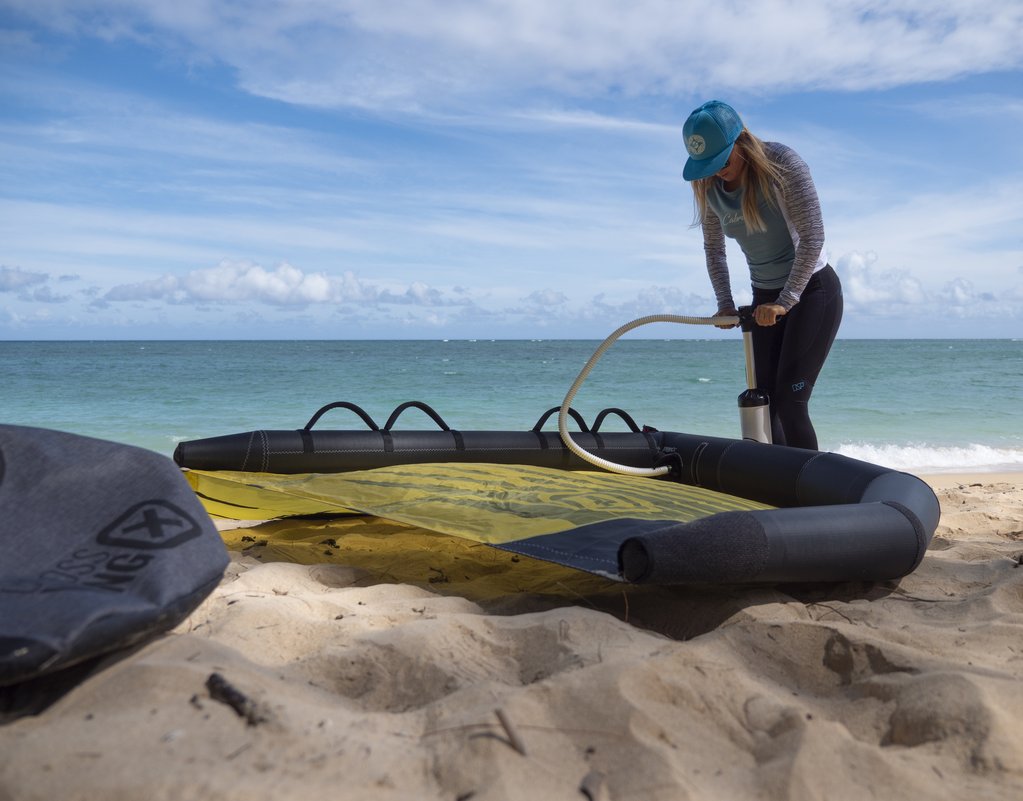
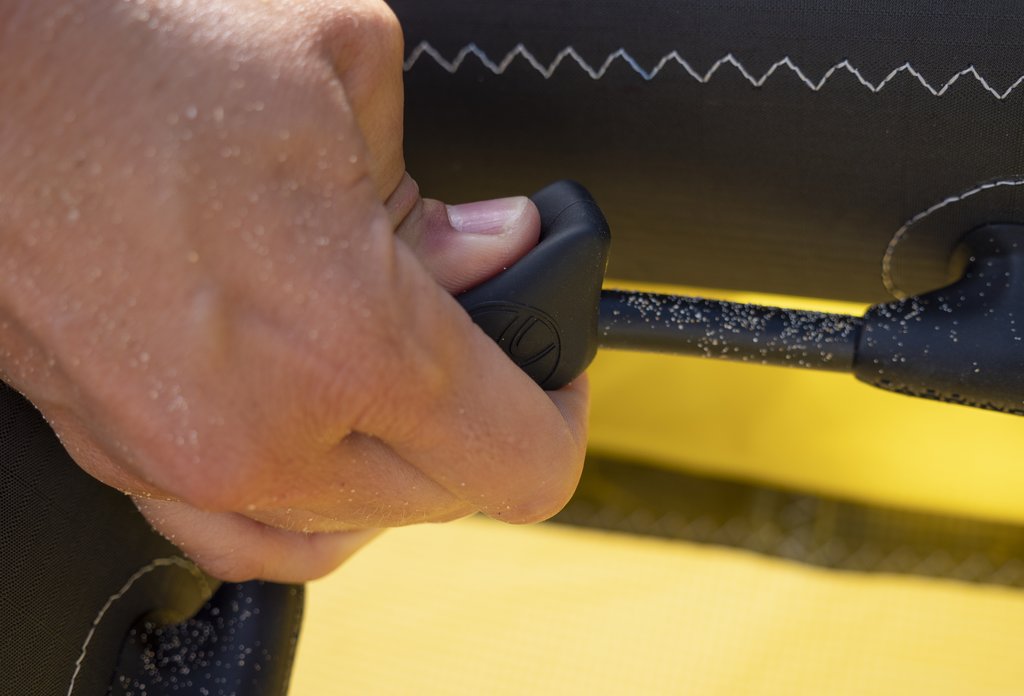
You want the wing to be ï¬rmly inflated in order to operate properly. Too little inflation and the air frame will not be supported. A good pressure is between 7 and 8 PSI. When the wing is fully inflated, close the Airlock™ valve firmly with a clockwise twist. Close the Sprint tube that connects the leading edge to the center strut. Do this by squeezing the clip until it clicks 3 times.
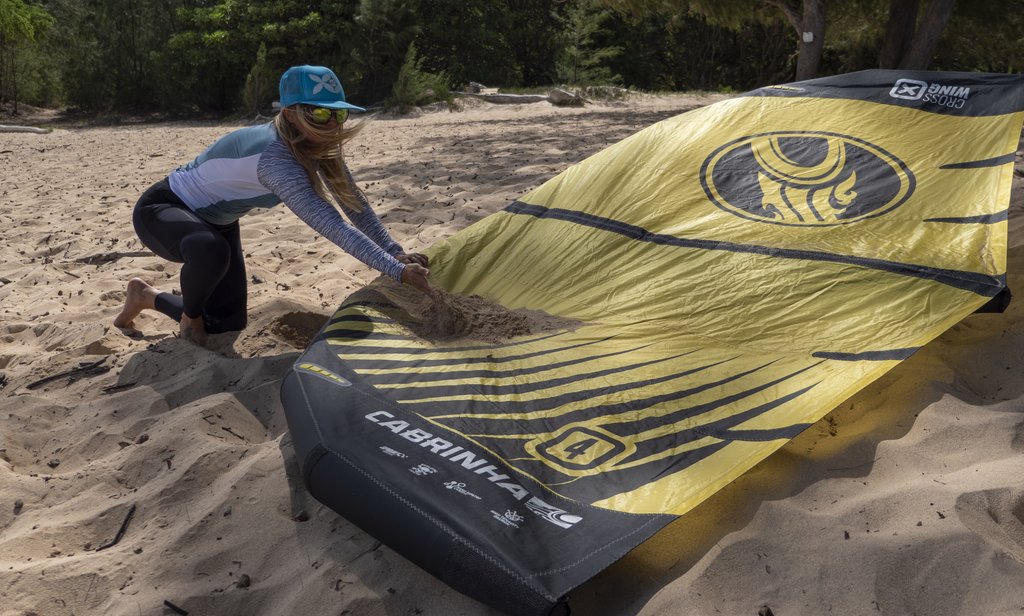
Once inflated you can turn the wing over and secure it on the beach with sand or any soft weighted object. Face the leading edge into the wind, then turn one wing tip 30 degrees away from the wind. Place the sand or weighted object on the upwind wing tip. Be sure there is nothing sharp over or under the wing.
Wing Handling: The Basics
Before you get yourself in the water you should have a basic understanding of how the wing operates, how to generate power, how to use it for steering, and how to neutralize the power.
Neutral position
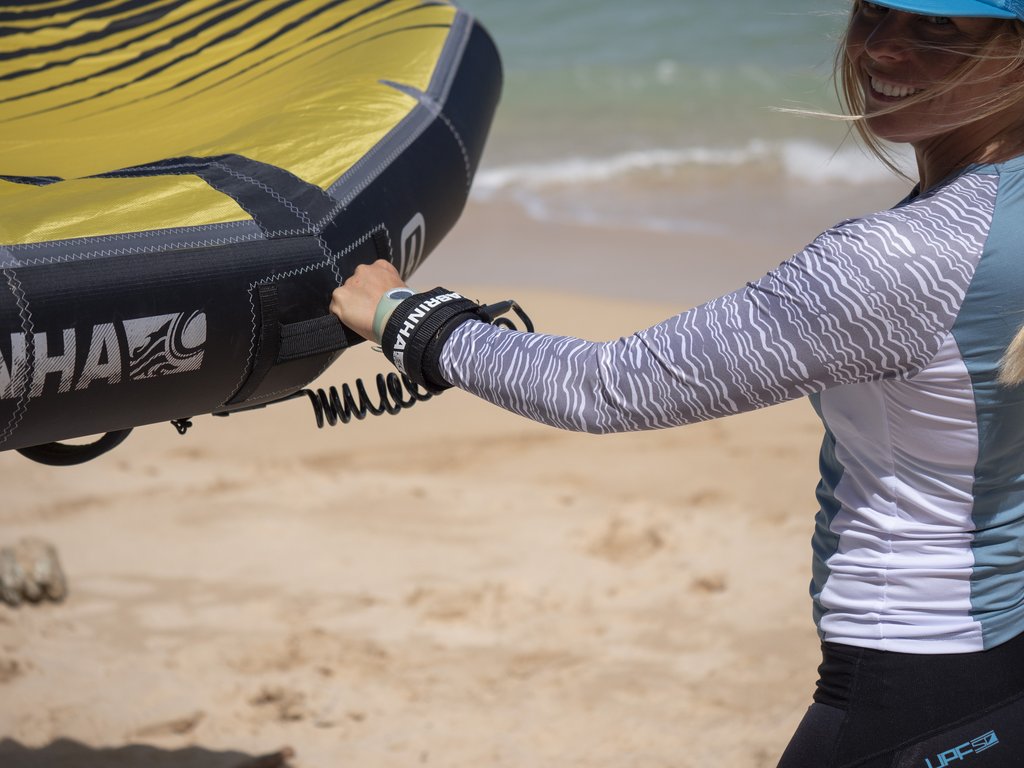
When handling the wing on the beach or the water its always best to use the handle located on the leading edge (often called the LE) of the wing. With the leading edge of the wing facing into the wind, pick up the wing by the handle with one hand. The wing will naturally try to fly itself in a neutral position.
Flipping the Wing
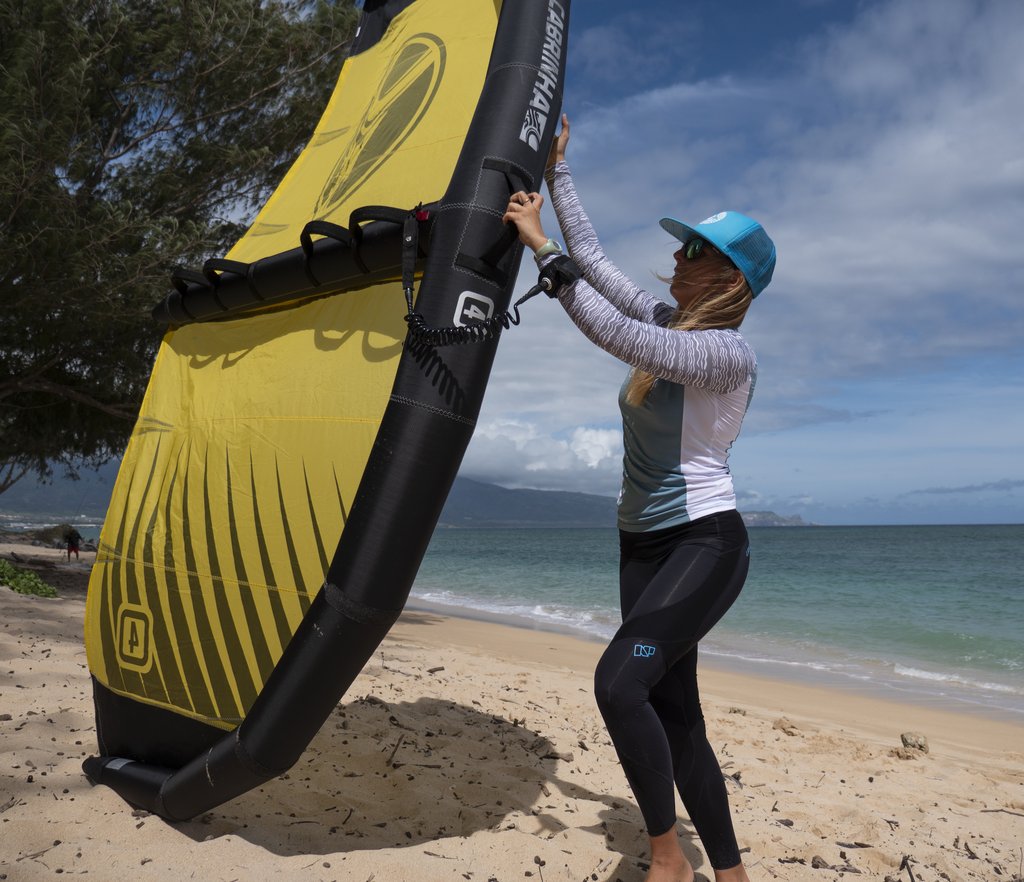
You will want the wing to be flying with the strut handles facing down towards the water or land. If the wing is upside down (strut handles facing skyward) you can flip it over by using the LE handle.
Flying Position
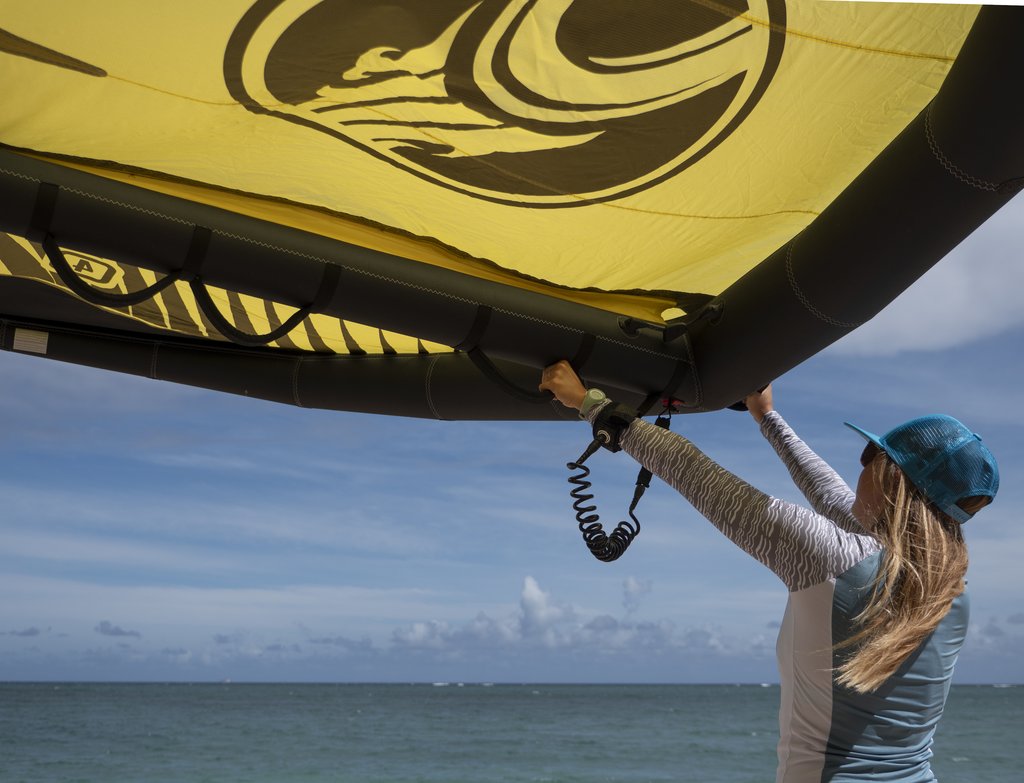
To get your self into the flying position start with one hand on the LE handle. With your free hand reach over and grab the strut handle closest to the LE. Now transition your hand from the LE handle to the rear strut handle and hold the wing just slightly above your head. Be sure keep the nose of the wing pointed directly into the wind. This will keep the wing in a neutral flying position.
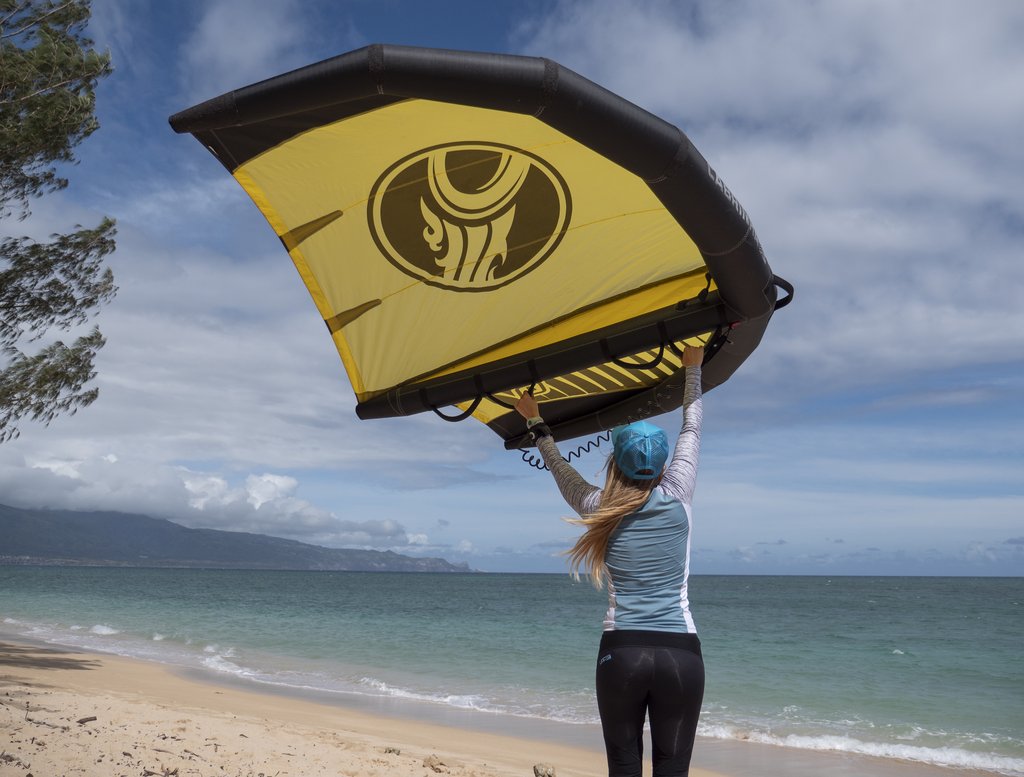
Power and Depower
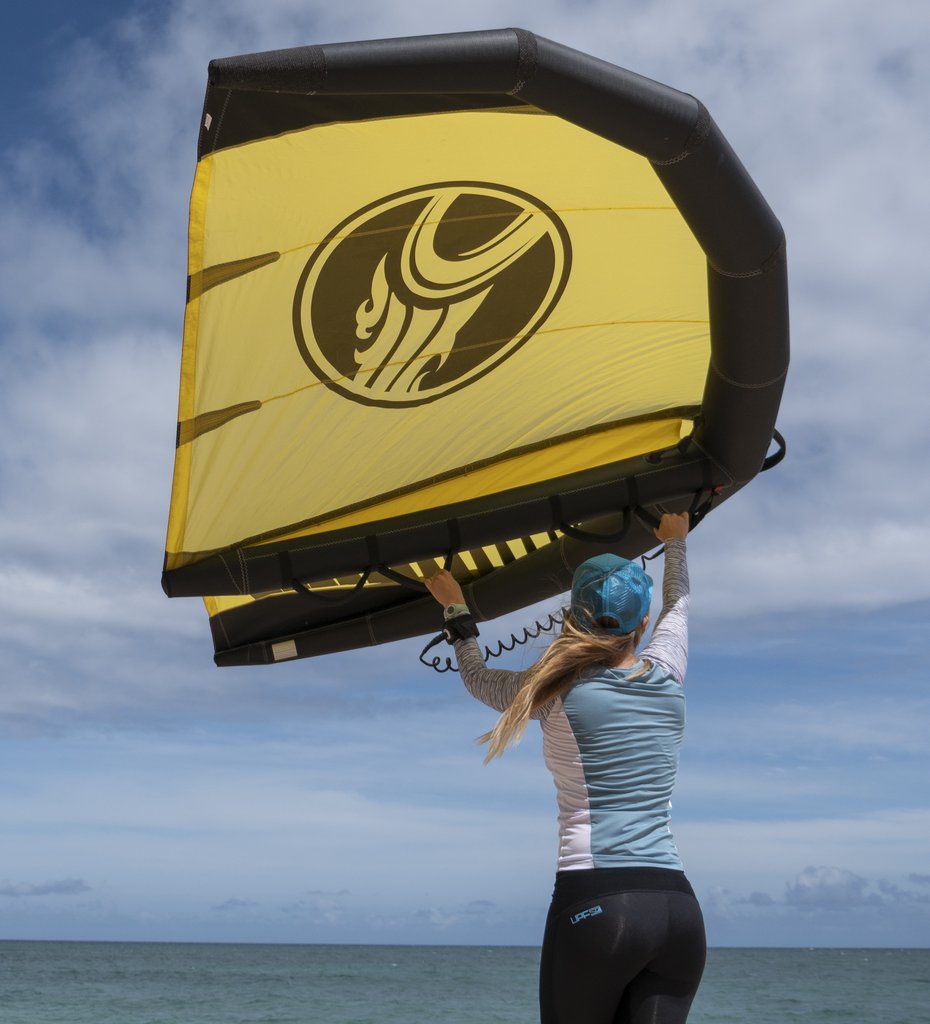
To generate power with the wing point the nose of the wing directly into the wind and put the the wing just above your head. Pull down on your back hand while keeping your front hand relatively stationary. You will feel the wing start to lift skyward against your arms. By releasing the pressure of your rear hand you will feel the power of the wing diminish. Keep in mind that it takes very little arm movements to get the wing to power and depower. A little movement goes a long way. Tip: Practice powering and depowering the wing while keeping the nose of the wing pointed directly into the wind. If you do this correctly the wingtips should be level to the ground and the pull from the wing should be directly skyward.
Power and Drive
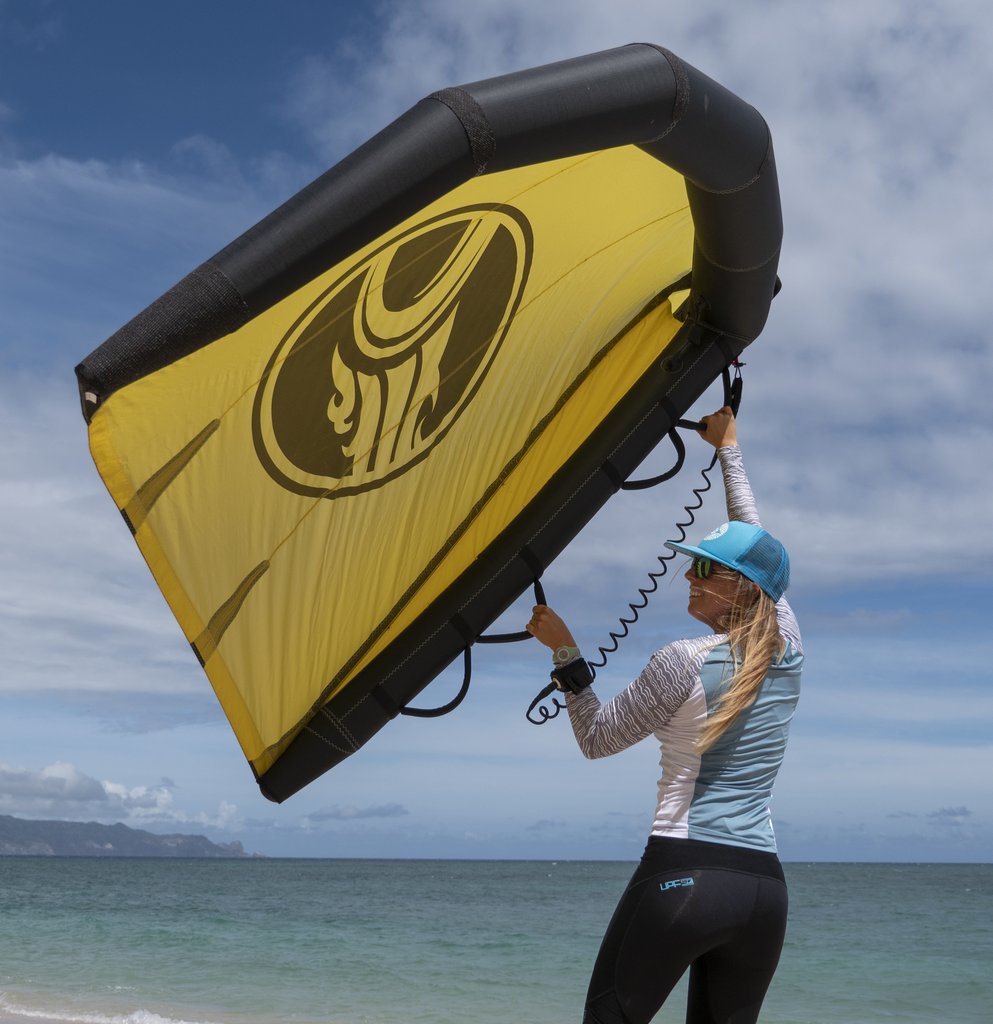
In order to propel yourself across the water or land with the wing you will need both power and drive from the wing. To get power and drive you will start with all of the steps in the previous paragraph to power up the wing. Then you will use your front arm to initiate drive by pushing the nose of the wing in the direction you want to go. When you do this the wing tip will dip and you will feel the power pulling you in the direction of the dipped wing tip. Again, it’s important to note that it takes very little movement of your arms to achieve the desired action from the wing. If you push too far forward with your front arm you will see the wing tip dip too far towards the water or ground and possibly make contact with the water or ground. You want to push your front arm forward only far enough to get the wing tip to dip slightly and provide the wing with drive in the direction of the dipped wing tip. If you push too far you can easily counter to the drive by pulling your front arm back in the direction of your body and towards the neutral flying position. Tip: Practice taking the wing from a neutral flying position to a powered flying position and then back to neutral. Use minor arm movements and try to keep the wing tip from touching the ground. If the wing flips itself over you will have to reset the wing back to the starting position. Do this by releasing your rear hand from the handle. Then grab the LE handle and flip the wing over.
Board Prep
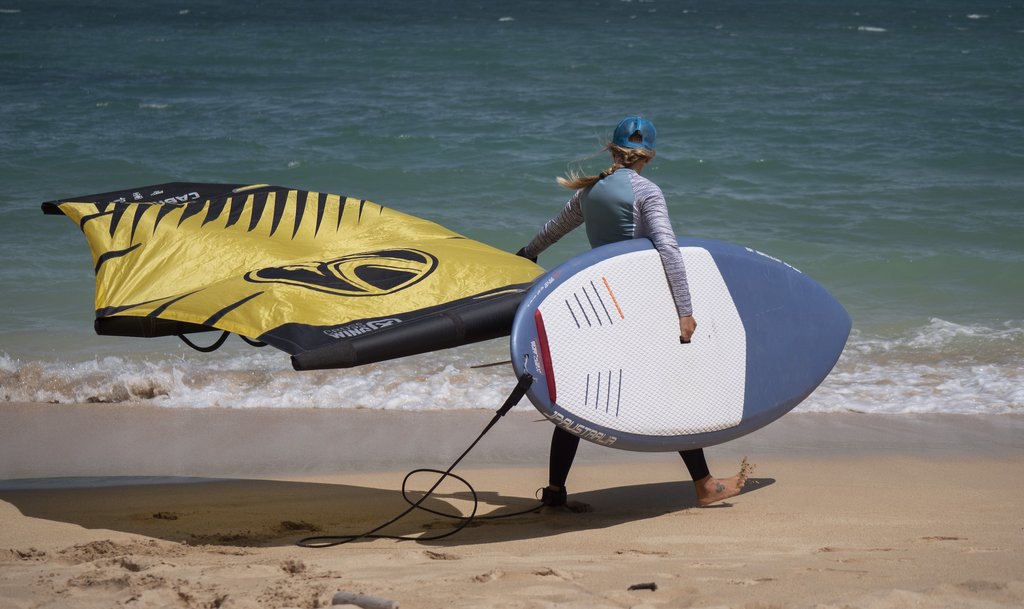
It’s best to prepare your board by applying wax, securing the ï¬ns or foil, or attaching a leash prior to pumping up your wing. Bring your board within a few feet of your wing and position it on the upwind side. Attach your board leash ï¬rst to your ankle or the top of your calf. Then attach the Crosswing’s wrist leash to your wrist. It shouldn’t matter which wrist you choose to wear the leash on, the choice is yours. When entering the water the wing should be held downwind of your board whenever possible. This keeps the wing from making contact with any sharp elements of the board like the ï¬ns or the foil. Hold the wing from the handle on the leading edge. This will make the wing fly in a neutral position and provide you with some mobility. Once in the water walk into a deep enough area so that the board’s ï¬ns or foil will not touch the bottom.
Starting out
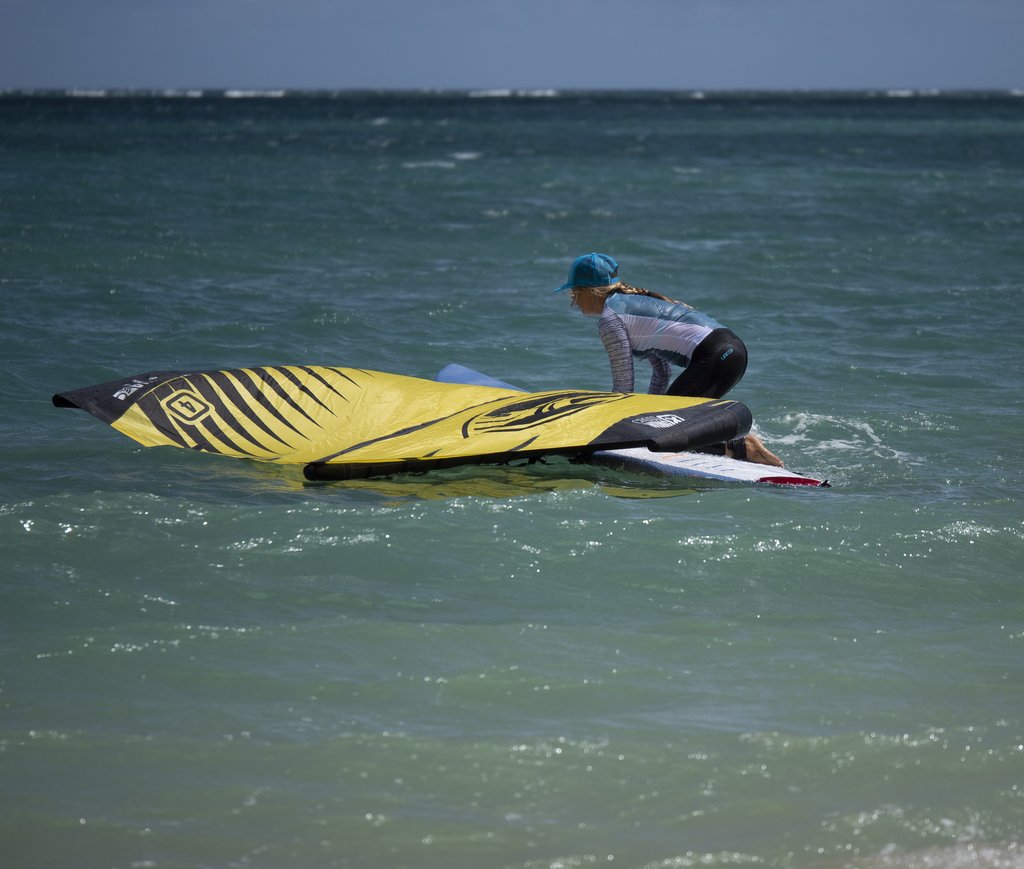
If you need to get yourself further out into the water it’s possible to get on your knees and use the wing to propel you forward. If the wing is in the water, position your board upwind of the wing and climb onboard. Put yourself in the kneeling position. With the wind at your back and the wing directly downwind of you, lift the wing with two hands and use the handles to stabilize the wing by pointing it directly into the wind. The wing should fly by itself with minimal input to keep it stabilized. If the wing is upsidown on the water, turn it over by using the leading edge handle. Place it in the neutral position.
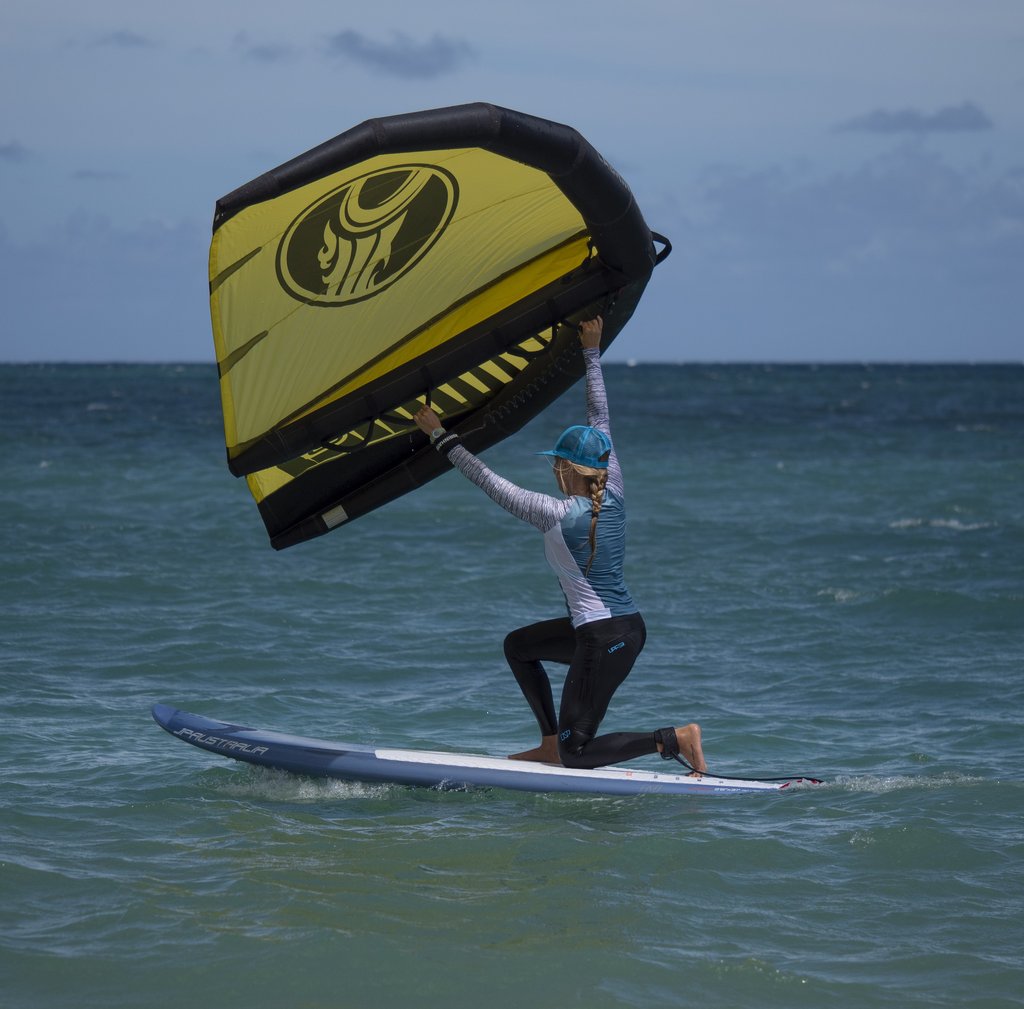 When you are ready to stand and fly it’s best to get yourself into the half kneeling position. If you are using foot straps on your board, now is a good time to get your front foot into the strap. Your back leg should be in the kneeling position with your foot turned to the side. Your front leg should be bent at 90 degrees. Now, transfer your hands from the leading edge handle to the air strut handles one at a time. Do this by holding onto the center handle with your back hand (the one closest to the tail of your board). With that hand pull the wing towards your body and reach with your front hand (the one closest to the nose of the board) to grab ahold of the handle nearest the leading edge. In one movement pull the wing over your head with your front hand while reaching your back hand to the second to last handle on the air strut.
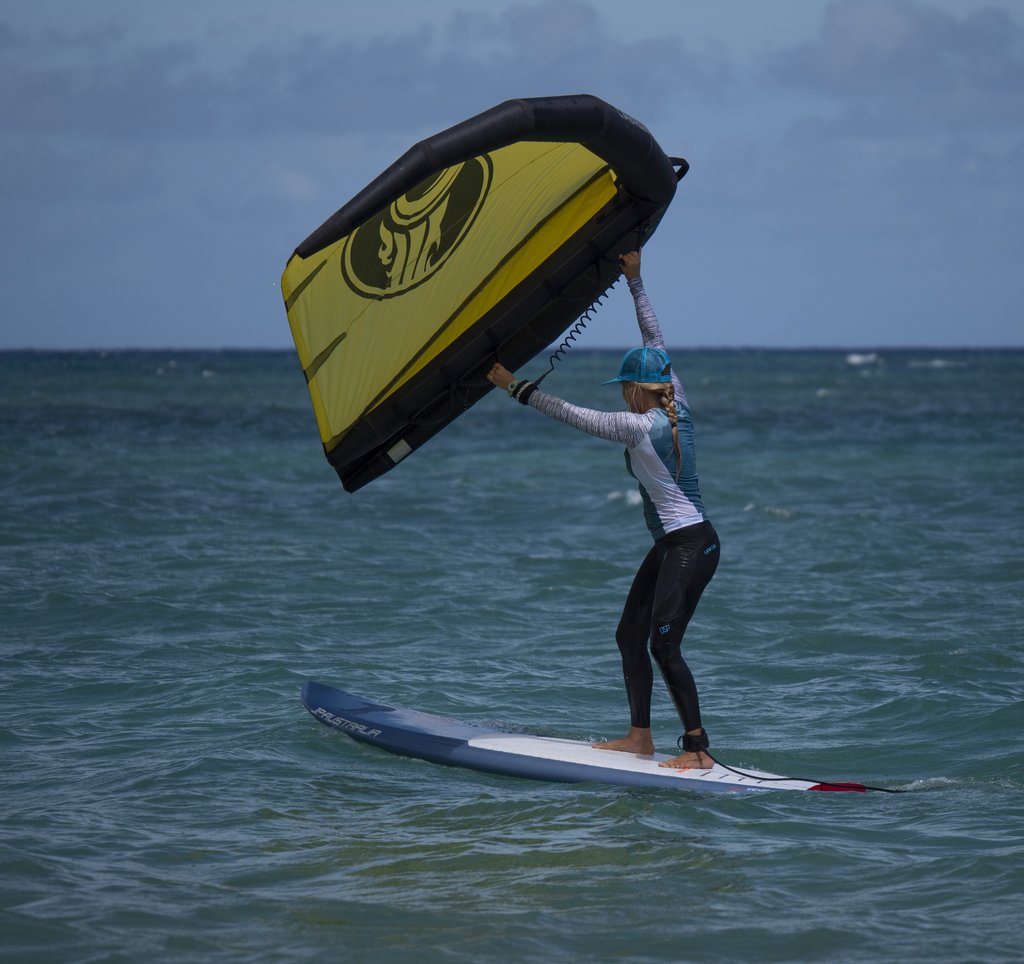
When you are ready to stand and fly it’s best to get yourself into the half kneeling position. If you are using foot straps on your board, now is a good time to get your front foot into the strap. Your back leg should be in the kneeling position with your foot turned to the side. Your front leg should be bent at 90 degrees. Now, transfer your hands from the leading edge handle to the air strut handles one at a time. Do this by holding onto the center handle with your back hand (the one closest to the tail of your board). With that hand pull the wing towards your body and reach with your front hand (the one closest to the nose of the board) to grab ahold of the handle nearest the leading edge. In one movement pull the wing over your head with your front hand while reaching your back hand to the second to last handle on the air strut.
This article first appeared on Cabrinha’s website here: https://www.cabrinhakites.com/blogs/news/flying-the-crosswing-step-by-step

